
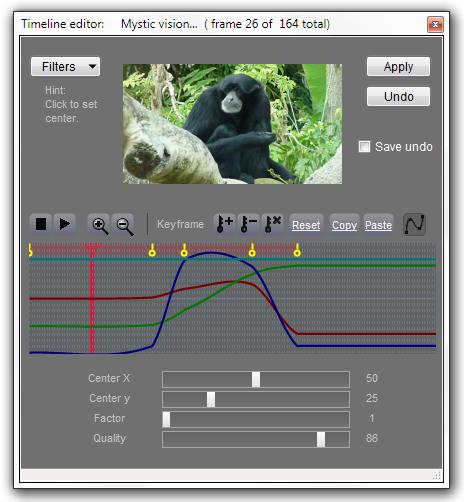
With the timeline, you can add special effects and image processing filters to an animation or sequence of frames, and even animate their parameters via keyframes.
A keyframe means that all the values for the frames inbetween keyframes will be extrapolated for you. Keyframes show up as a yellow handle (it almost looks like a key) on the top of the interactive part of the timeline.
You can save one level of undos, so you can restore your changes if you decide you don't like them. To do this, be sure the “Save undo” checkbox is checked before you apply any filters.
The timeline has a few useful buttons, such as being able to play the animation directly from the timeline. You can zoom in and out on your keyframes for better precision, and you can copy and paste keyframes.
 This
is the area that represents the frames in your animation. It
looks pretty blank if you have no animation loaded.
This
is the area that represents the frames in your animation. It
looks pretty blank if you have no animation loaded.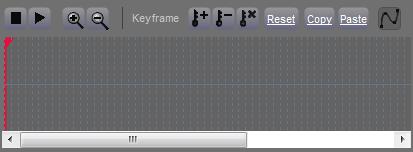
 Use
this “Filters” drop-down list to select the filter you
want to apply to your frames. The list is categorized into
sections to make the filters easier to find. They are
organized in the same way that filters are organized in the main
program.
Use
this “Filters” drop-down list to select the filter you
want to apply to your frames. The list is categorized into
sections to make the filters easier to find. They are
organized in the same way that filters are organized in the main
program.
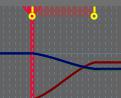 Once
a keyframe is created, it's not fixed in stone. You can move
keyframes around on the timeline by clicking and dragging them.
Once
a keyframe is created, it's not fixed in stone. You can move
keyframes around on the timeline by clicking and dragging them.

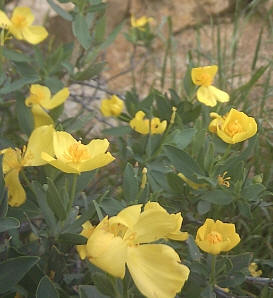


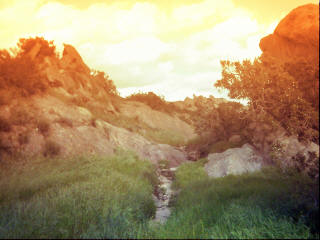
 The
swap image can also be used for a lot of interesting things.
Here, it was used to create a simple vignette.
The
swap image can also be used for a lot of interesting things.
Here, it was used to create a simple vignette.