Discovering Puppy Ray
First steps with PD Artist 9.2
| want more? |
| PD Artist tutorials |
| Dogwaffle tutes |
| PD Particles |
| old PD Pro tutes |
| YouTube channel |
|
|
||||||||
|
Discovering Puppy RayFirst steps with PD Artist 9.2 |
|
||||||
|
|
||||||||
Haven't used Puppy Ray yet?
This is a raytracer added in Project Dogwaffle 9.0. With 9.1 it became both CPU and GPU based. For PD Artist, the first build with Puppy Ray was PD Artist 9.2. Let's experiment!
If you have an image like this (left), you can turn it into that (right).


Those are just some examples. Read on and follow the steps for some ideas. Then create your own imaginary planets or 3D logos.
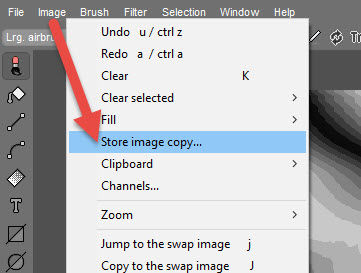
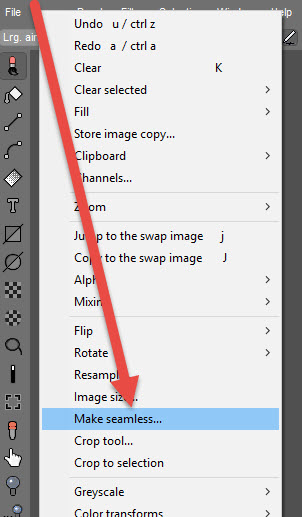
Getting Started...
You'll need some image as a starting point. Any pattern will do, or noise, a photo, whatever. You'll want pixels that are dark, for low elevation, and bright, for high elevation.
Here's an example of rendering, using zero prefiltering, and no interpolation (unchecked): every pixel in the heightmap turns into a small cube. Its elevation (or height) is based on the brightness of it.
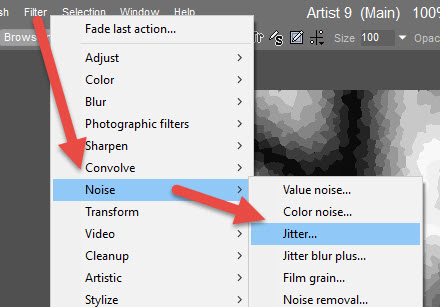
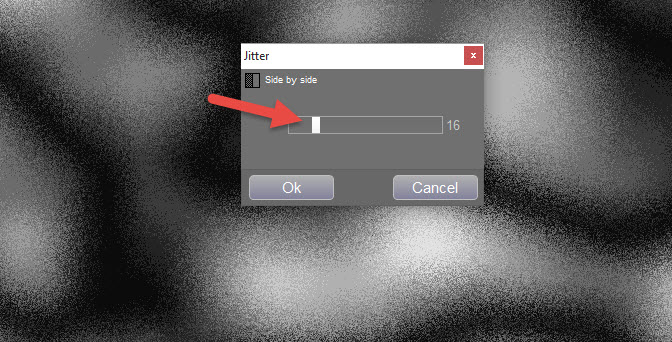
Next add some Jitter noise. This will add some separation into 'pilars' along the edges.
Don't worry about the pimage appearing too blurry. We'll soon use the interactive undo tool to reduce the intensity of this effect.
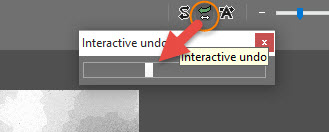
Click the tool in the upper right area, for interactive Undoing. Adjust the level down to about 30-40 percent.
Now the brightest areas have some noise from light grey. The darkerst areas show mid grey noise as well. This will add variations to the elevation map. Instead of all being at the same level, some variations in the elevation will be appearing.
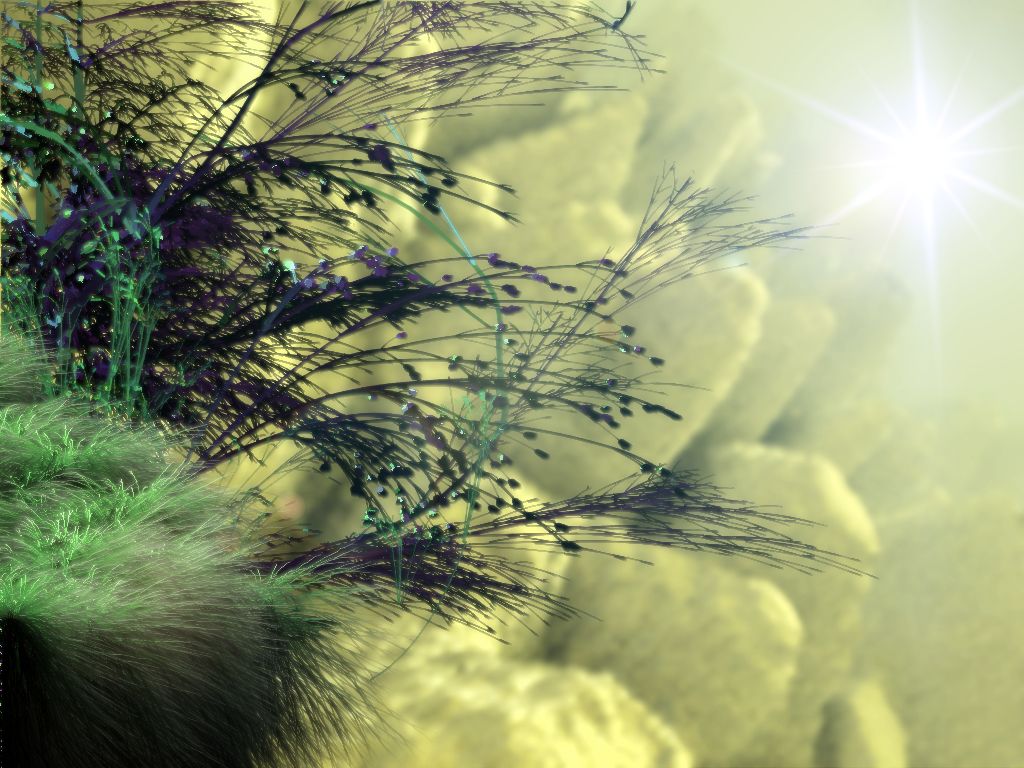
Here's one with extra post work for adding a lensflare, and painting some foliage brushes. Oh, and the rendered image was first blurred.
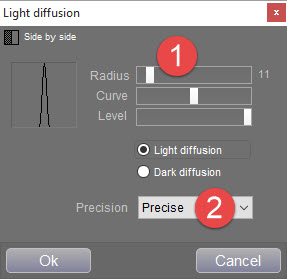
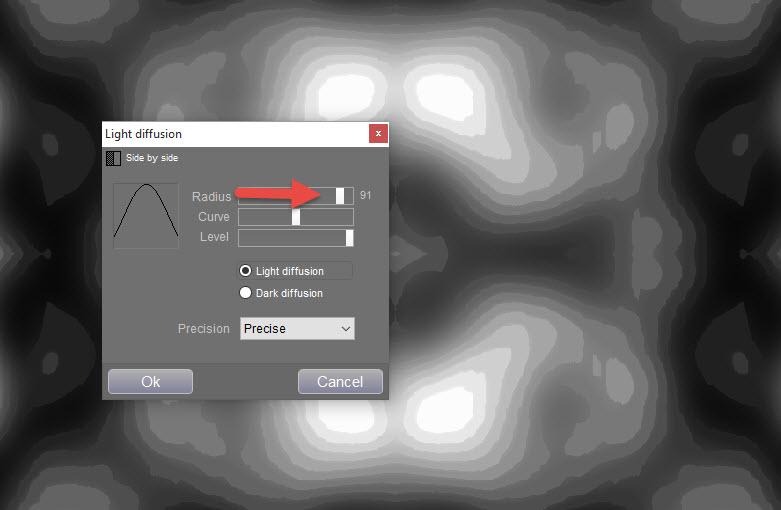
Next, add some light diffusion. This can be used to create the appearance of sediments around the steep cliffs. The bright areas spill into the darker ones.
You might want to try it twice, first once with a small radius and once with a big one.
Then try with large radius.
Ok, that's enough for now. Play and explore, and have fun with PuppyRay.